First off, the object I created on Fusion360 was supposed to be a part of the canoe I used to have. Unfortunately, it was getting much use so my mom decided to sell it, which is unfortunate because I wasn’t able to get exact measurements of the bar I was going to hang my speaker from. However, I came up with a bit of a solution for that problem.

So, as you could see I created a sort of opening at the top at an angle. I did this because if I wanted to connect this holster to the canoe, I could just pull the flabs outwards, push the holster through the bar, then close the flabs to hook it on. Since, I couldn’t get exact measurements of the bar I made the object adjustable to anything you’d want to hook it to. I thought that was pretty cool and I would’ve loved to print this out and try it.
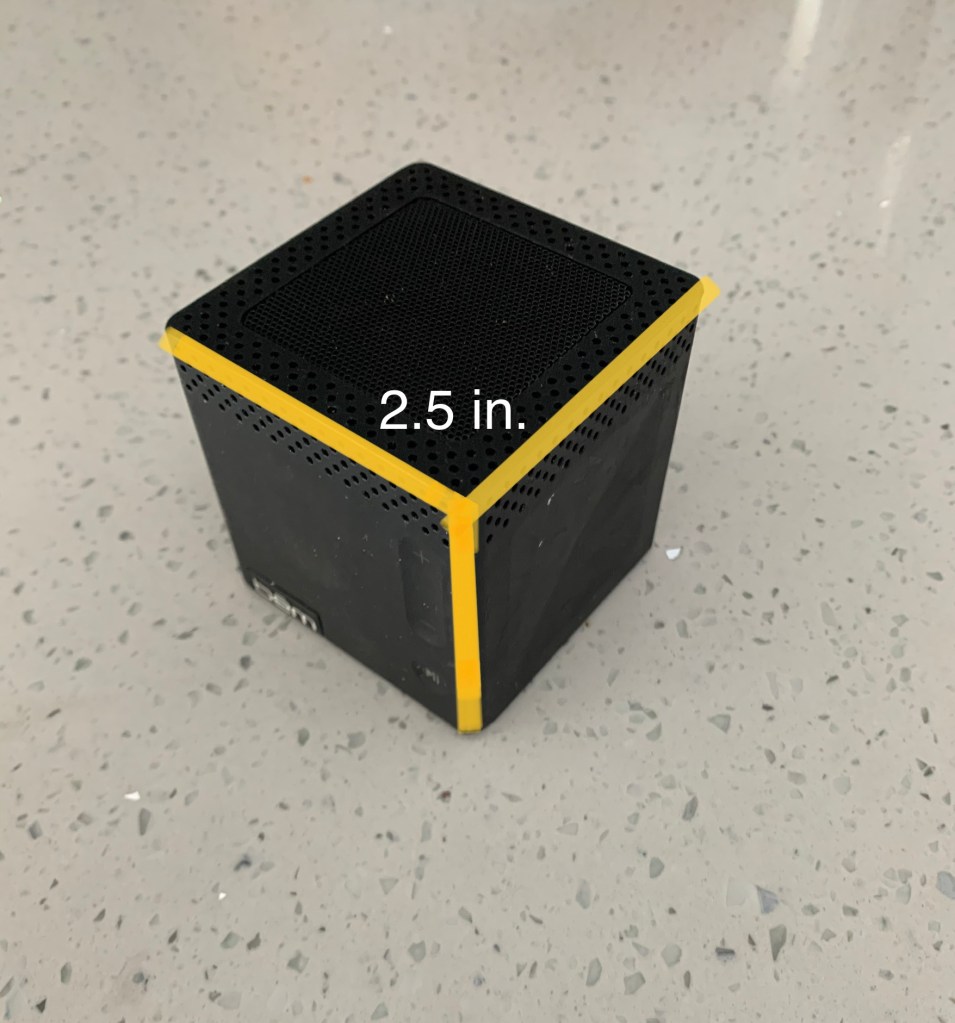
The speaker I made the holster for happened to be a perfect cube measuring 2.5 inches in height, length, and width. The body of the holster was therefore 2.8 inches in length and width with a 2.5 in. x 2.5 in. square for the speaker to sit in. Overall, Fusion360 makes creating object simple, so I didn’t really struggle with this object. I am horrible at photoshop and didn’t have the canoe to take a better picture of, but it is what it is.
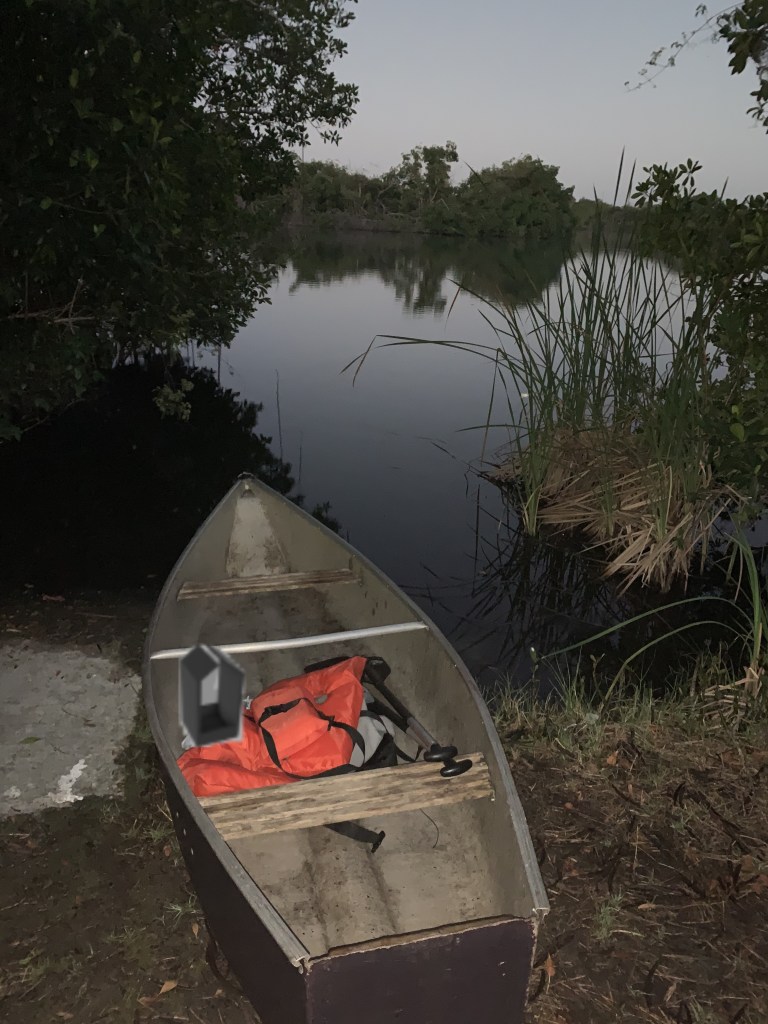
Not the best looking photoshop, but you get the idea as to where this item would fit in if it were to actually have been printed. It really is a bummer I couldn’t print this item out because I really wanted to try it. Once school opens back up again I will definitely returning to the Innovation Hub to print objects out. Maybe not this specific one, but whenever I need a quick fix for my house in Tallahassee, I know how to properly 3D print.
